Posts

Hardcover Published!!!

Image
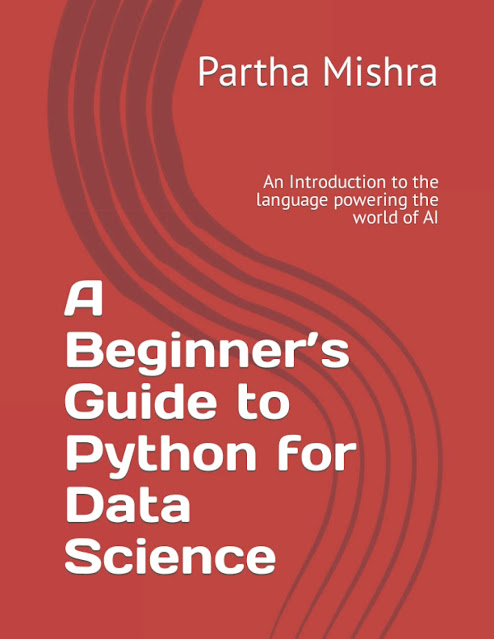
Hello Everyone!  I published the hardcover version of "A Beginner’s Guide to Python for Data Science". Click below to grab your copy 👇 A Beginner’s Guide to Python for Data Science: An Introduction to the language powering the world of AI  #Amazon 

Published my first book!!!!

Image
Hello everyone! I have published my first book on Python. Ebook: A Beginner’s Guide to Python for Data Science: An Introduction to the language powering the world of AI Paperback: A Beginner’s Guide to Python for Data Science: An Introduction to the language powering the world of AI

A Beginner’s Guide to Python for Data Science - Part 5 Adding Comments in Python

Image
  In the  last article , we introduced statements and indentation in Python. Next, let’s discuss commenting in Python. Comments are   descriptions of the code   under consideration. So we can write one or more lines of explanation. There can be times when you need to write some long and complicated code for a task. After it is complete, you might save the file somewhere, but when you refer to the code sometime in the future, let’s say, after three or four months, you may not be able to understand the code you have written yourself! To help yourself and anyone going through your code, in the hope of understanding its utility, you should generously use comments to clarify the written code. Commenting is necessary, especially for the complicated functions you might have created for a specific task. There are a few ways to declare a comment inside Python. The easiest way is to use a hash symbol (#). When we use the hash symbol inside our code, the python interpreter ignores whatever is pre

A Beginner’s Guide to Python for Data Science - Part 4 Statements and Indentation in Python

Image
  In the  last article , we introduced the jupyter notebook and its functionality. Now that we have learnt the basics of the jupyter notebook, it’s time we get to the meat of the matter, i.e. time to start learning Python. Statements: The first thing we will discuss is “Statements and Indentation”. A Statement is any instruction or set of commands given to Python, or we can say that a statement is any code executable inside Python. So a simple addition that we performed while checking the installation is an example of a statement. There are two types of statements that you would generally see in Python, they are: Single-line statement. Multi-line statement. Let’s see an example of a multi-line statement. We will add the first six numbers for the task. We will run the following command: my_variable = (1 + 2 + 3 + 4 + 5 + 6) As soon as we print the variable we see that we get the sum of desired numbers. In the above code, I entered the entire addition in one line, which could also have b

A Beginner’s Guide to Python for Data Science - Part 3 Introduction to Jupyter Notebooks

Image
  In the  last article , we introduced the method to create a python project in PyCharm. Now, it’s time to turn our attention to the jupyter notebook itself. We see different options, some code lines, something named “Untitled”, informing us about the last checkpoint, etc. The first thing we can do is give our notebook a name. We can do this by clicking on the ‘untitled’ area, and as soon as we click that, jupyter provides us with an input box to rename the file, as shown below: We will name the notebook “Intro to Python”. Now we will look at the options provided in the ribbon just before the quick options. The first option in the ribbon is “File”. As soon as we click on it, we can see that all options relevant to handling the file, such as creating a new file, opening an existing file, and duplicating and saving files in multiple different formats, are available with a single button press. The following screenshot gives you a quick view of all the options discussed above: Next, we ha

A Beginner’s Guide to Python for Data Science - Part 2 Creating our first python project

Image
  In the  last article , we introduced the software installation process required for data science in python. In this blog, we will begin creating our first project in Pycharm. We can open Pycharm and click on the plus sign to create a new project, as shown below: Now, as soon as you click on create the project button, you will go to another screen where you have to mention the desired project name, as shown below: The default project name is ‘untitled’, as shown in the image above. Next, we see a small triangle shape symbol under the “Location” part of the screen. When we click the triangle, Pycharm provides us with many options, as shown below: In the options above, we see one titled “New Environment Using”. If we click the drop-down menu, we see one of them is “Conda”, which is short for “Anaconda”. We need to select this option before clicking on the Create button to be sure that we are creating the new environment using anaconda distribution. One important thing you should remembe